 I always feel a little guilty grilling on Memorial Day. Being surrounded by all kinds of luscious food and ice-cold beer seems to be almost mocking the holiday's solemn meaning. Maybe we should really honor our vets by eating what they had to survive on while defending our country.
What if instead of lounging with a stack of slick, sticky barbecue pork ribs and potato salad, we dug a hole in the ground from which to enjoy something squeezed out of a pouch? Pop-Tarts notwithstanding, there are very few delicious things that come in pouches.
No one is less qualified to speak for veterans than me, but I don't think they would want us to go that far. I mean, what better example of what these brave men and women fought for, than backyards full of smoking grills and smiling faces?
So, if Uncle Jerry cooks the chicken breasts ten minutes past dry, and whoever made the beans was clearly just going through the motions, don't think of it as a poor meal, think of it as a meditation on what these heroes' sacrifices have made possible.
Photo (c) Flickr user Vince Alongi
 Bread pudding is really easy to prepare and can serve as a great way to use up some unused bread that is going stale. You can substitute this for the French bread and still end up with a great dessert. This recipe is over 80 years old and when I compared it to more contemporary recipes for bread pudding, I found that it uses alot less sugar than many of today's recipes for bread pudding.
 France


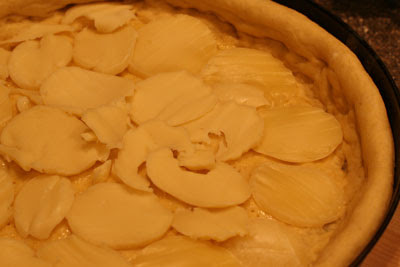
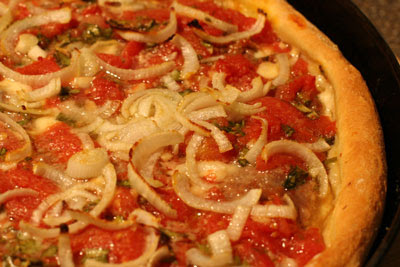 Chicago Style Pizza is the Second City's take on the dish made popular in New York. The Chicago style pie is a much thicker, heartier pizza designed to keep you warm through the cold Chicago winter.


 United States
  Chicago
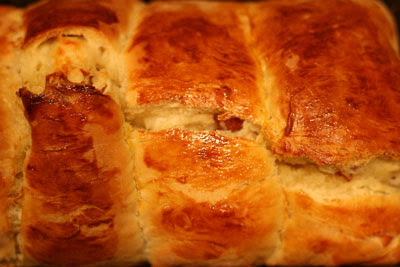 Bacon Asiago Bread is another great tasting bread that originates in Asia. It can be toasted and served with an egg for breakfast or served warm to start off any meal.

 Japan
Japan

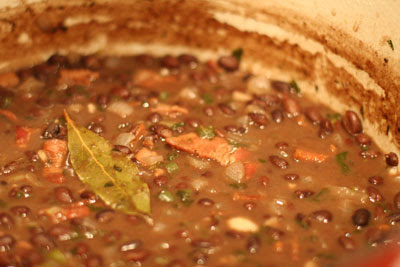 Cuban black beans is a versatile side dish that goes well with almost any Latin American entree. Cuban black beans, combined with rice, provides all of the necessary amino acids that the body needs in order to produce protein. It is extremely economical and its popularity is unmatched throughout Central and South America.
 Cuba
Cuba

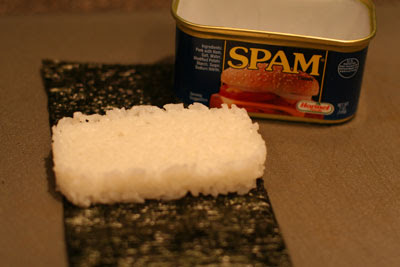
 United States
  Hawaii


 Brasil


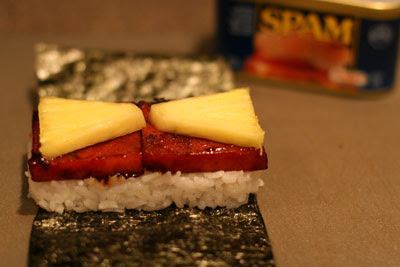
 United States
  Hawaii


 If you do any cooking at home, you should take advantage of the warm weather and keep a couple of basil plants on hand. You can get them at Home Depot for about $2 a piece and they will keep you supplied with fresh basil throughout the spring and summer. They don't require alot of space so you can grow them in the back yard or out on the fire escape. It really doesn't matter. However, they grow pretty fast so you will need to harvest the leaves regularly. These three pizza recipes should help you thin out the crop.


 Italy
Italy